New article
Recently updated
Adding new employees

Who is this article for?
Administrators managing users.
Administrator access is required.
An Employee represents any individual whose details need to be recorded in the system. This allows them to access the platform, be assigned as the Owner of a Task or Object, or be included in Groups for collaboration and reporting.
This article outlines how to create a new employee.
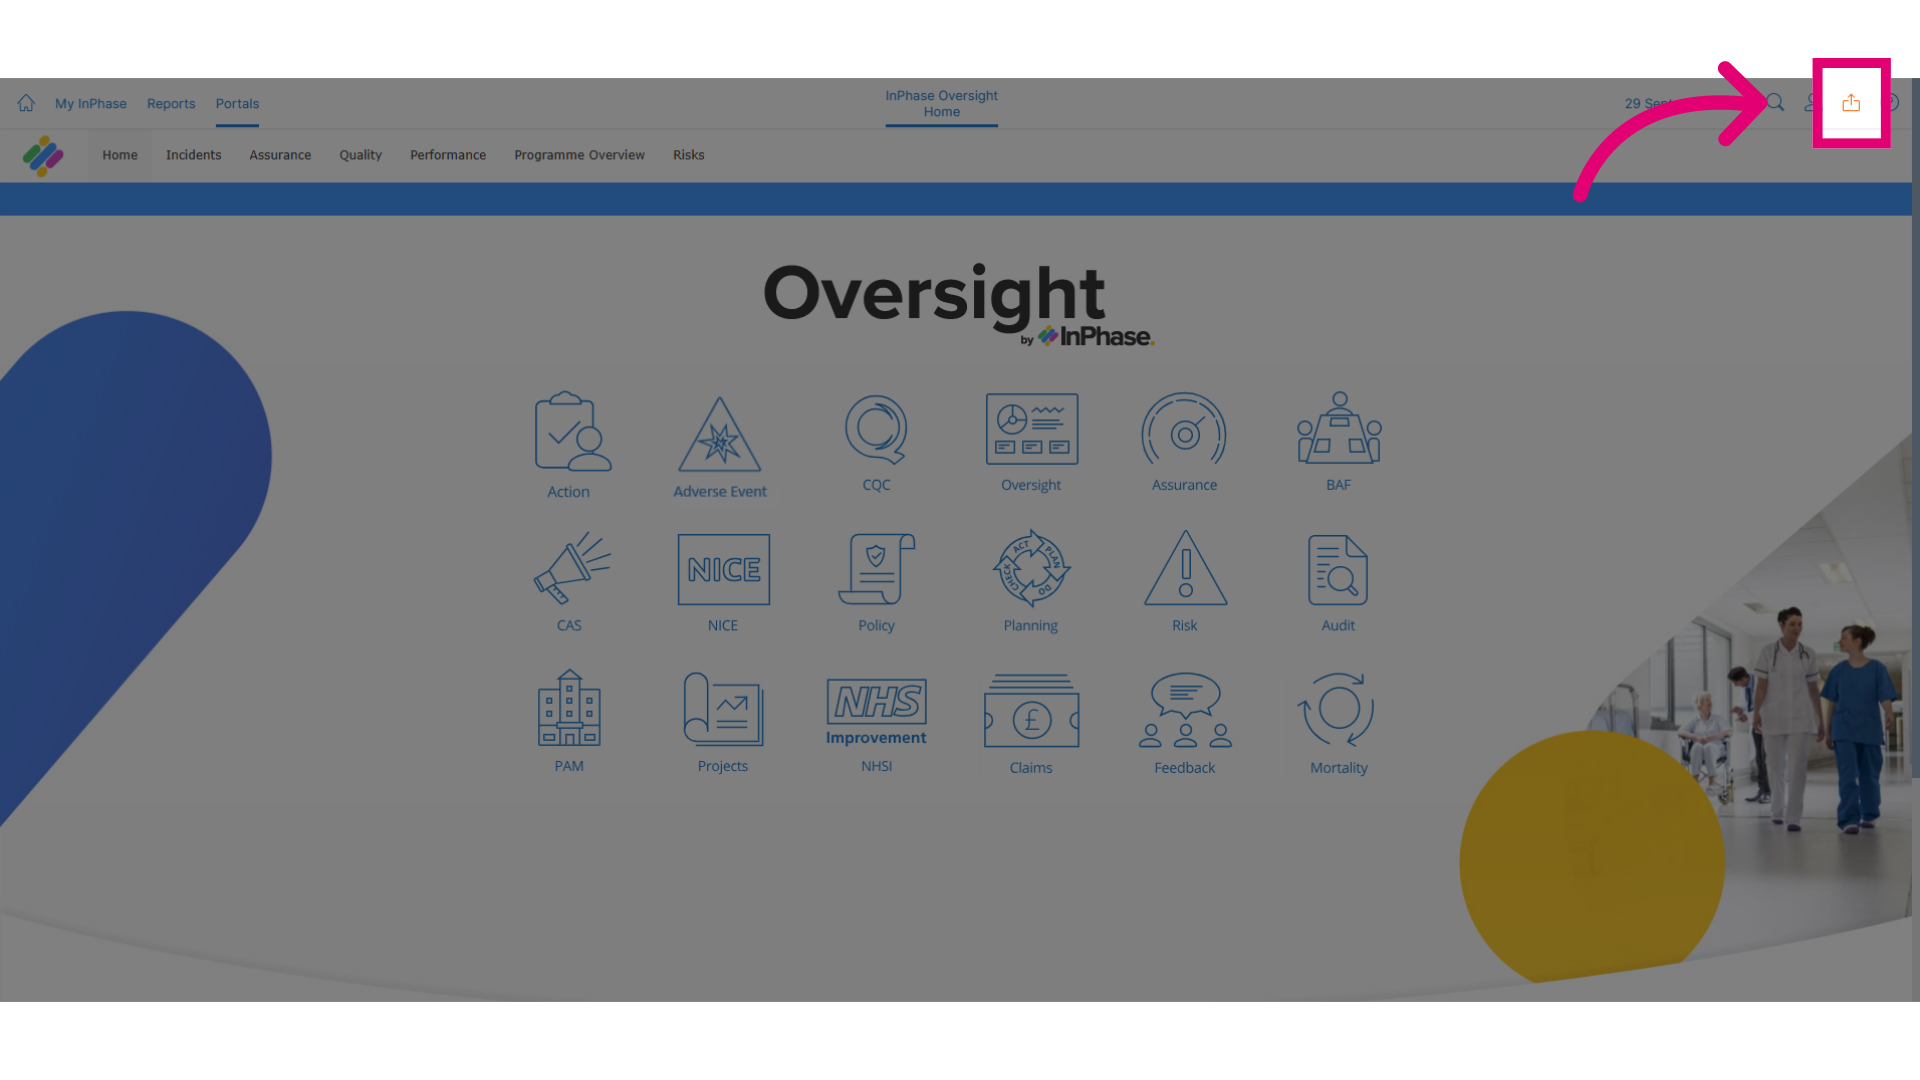
- To get started, click on the Send to button.
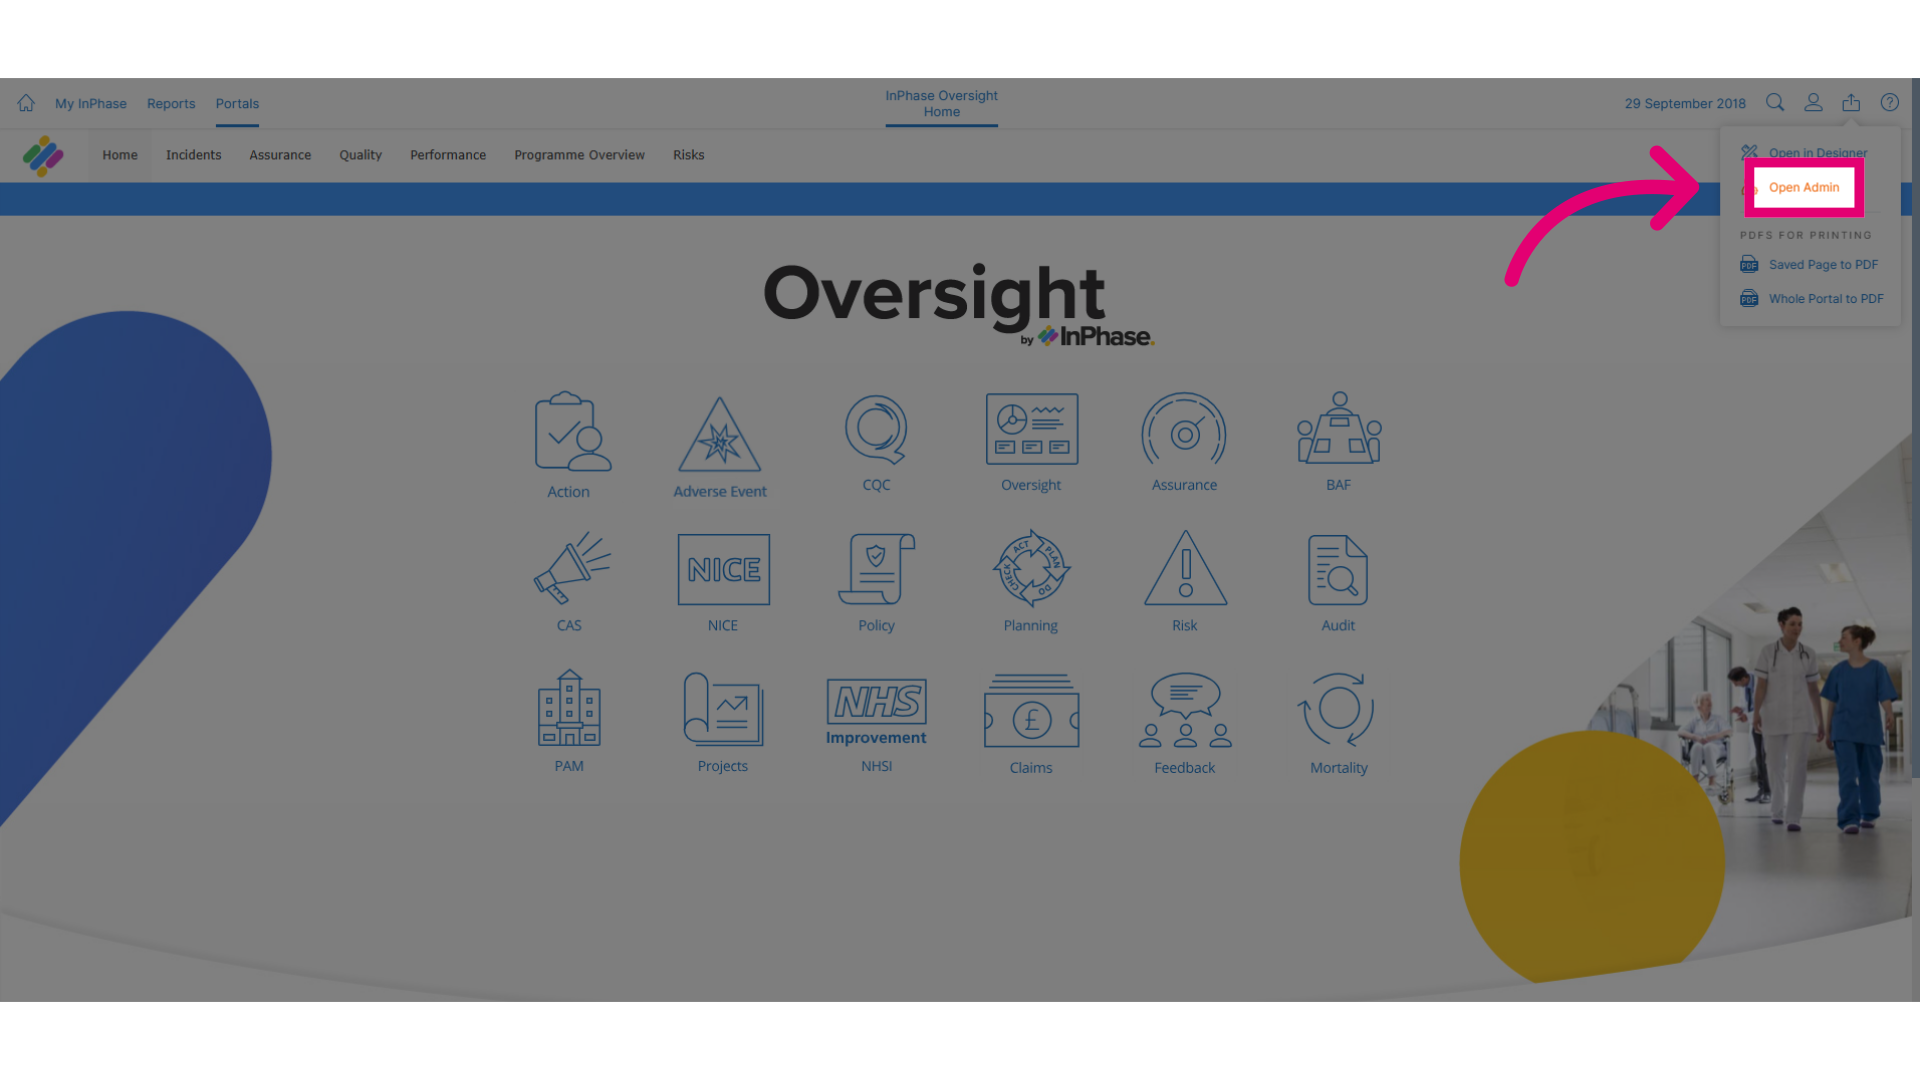
- Click Open Admin.
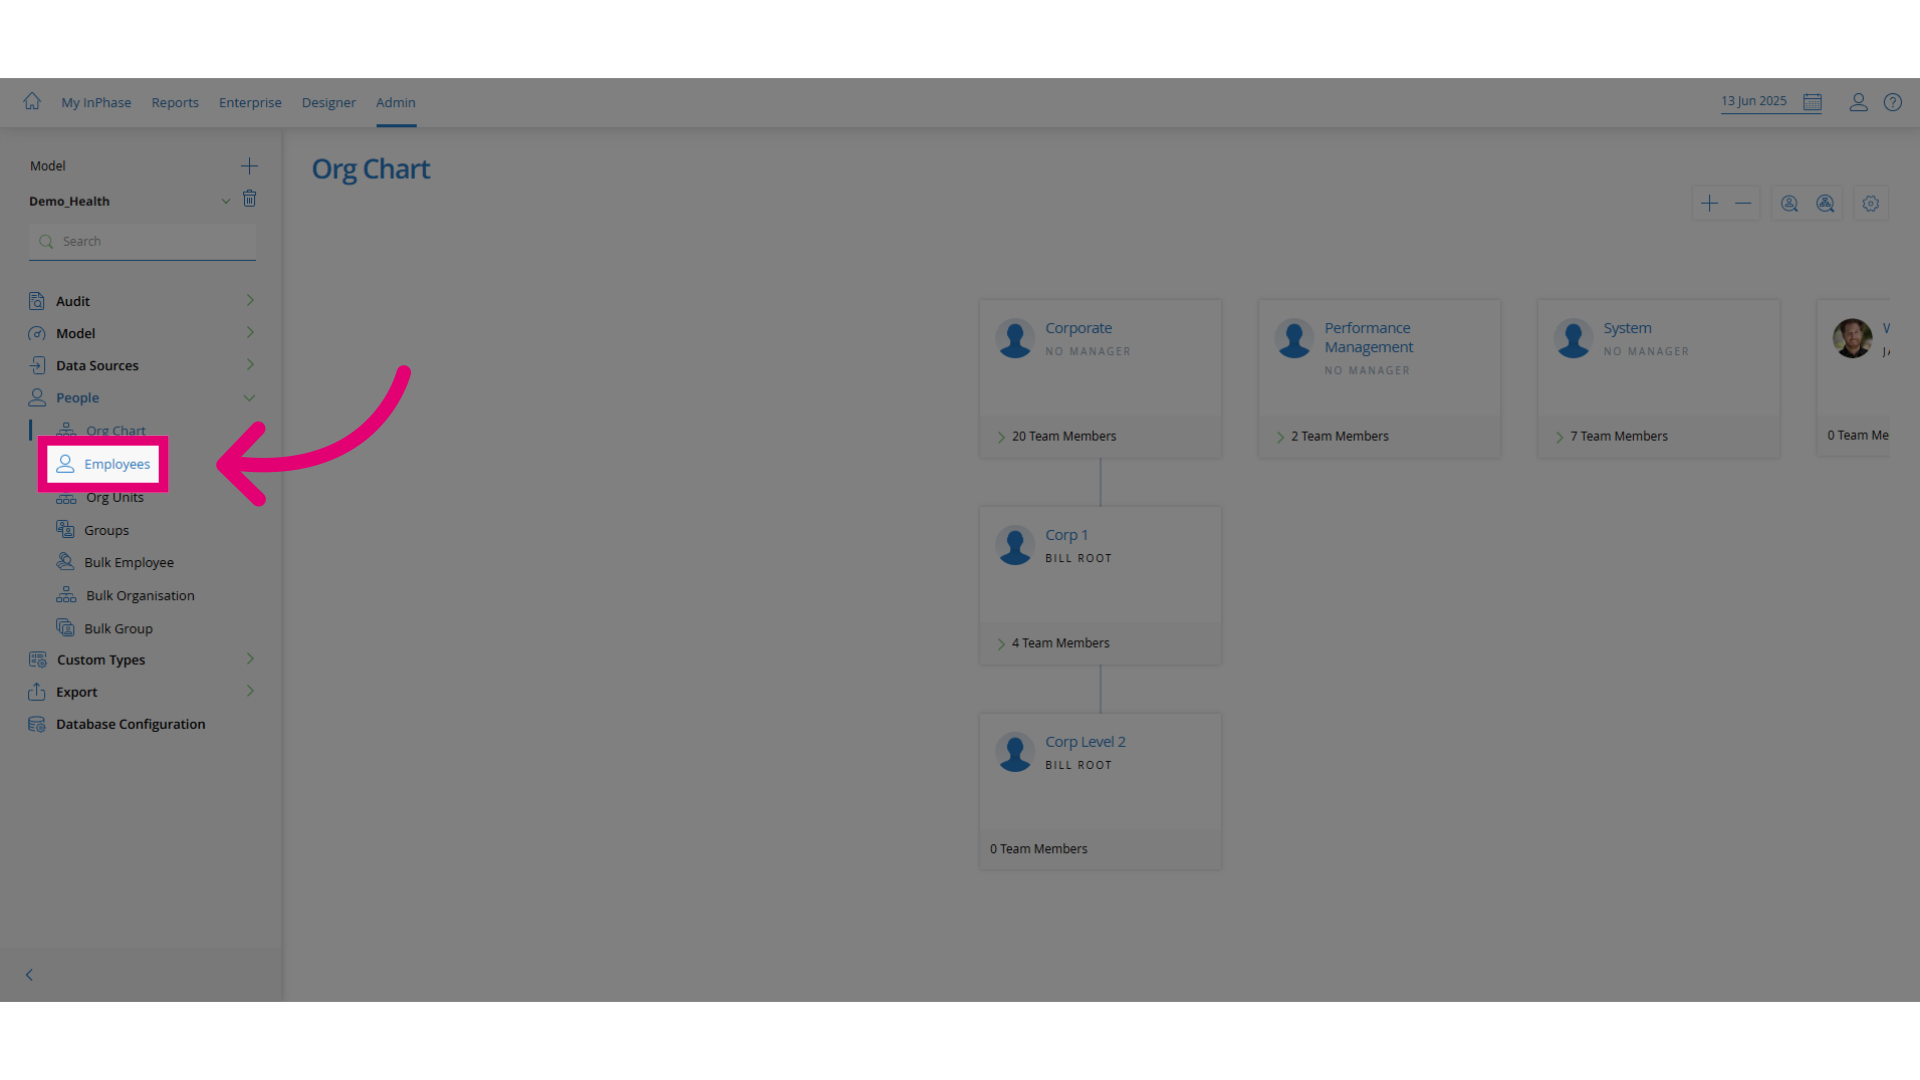
- Click People.
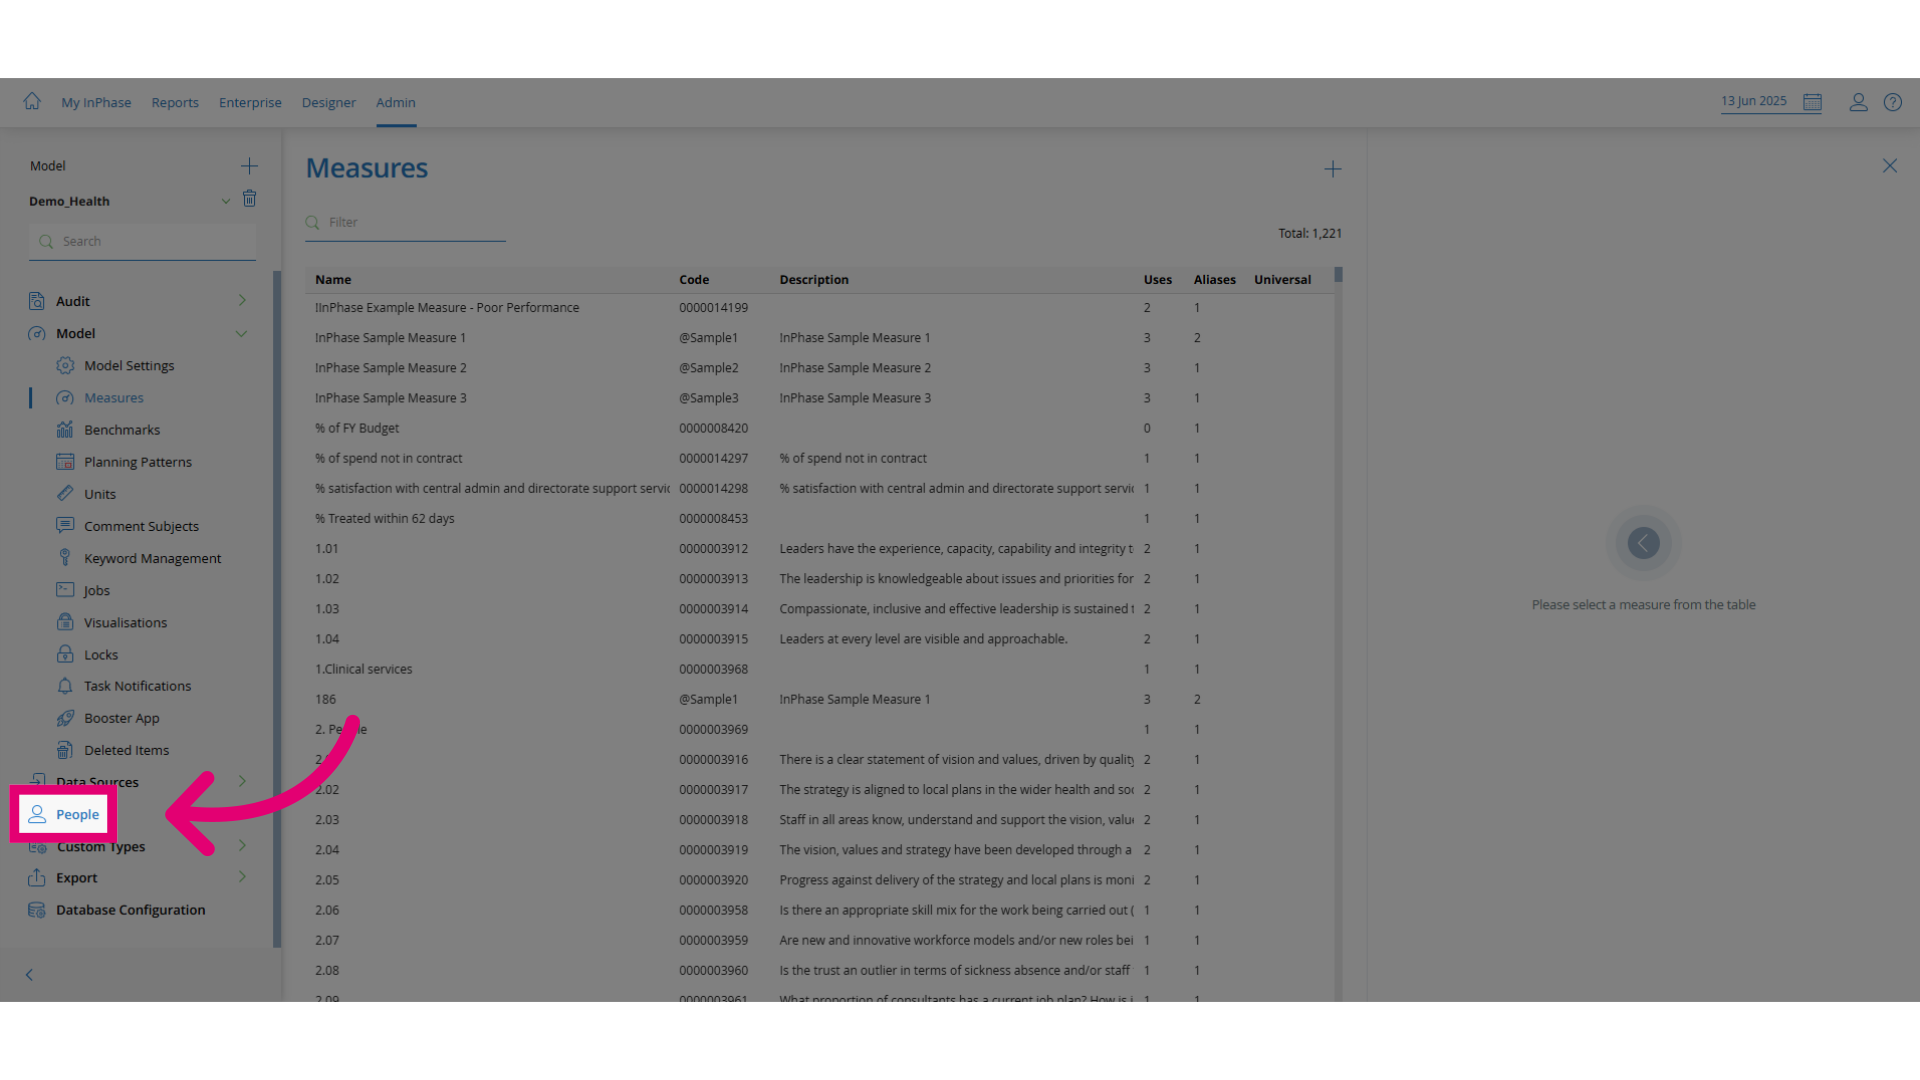
- Click Employees. Select the Employees option.
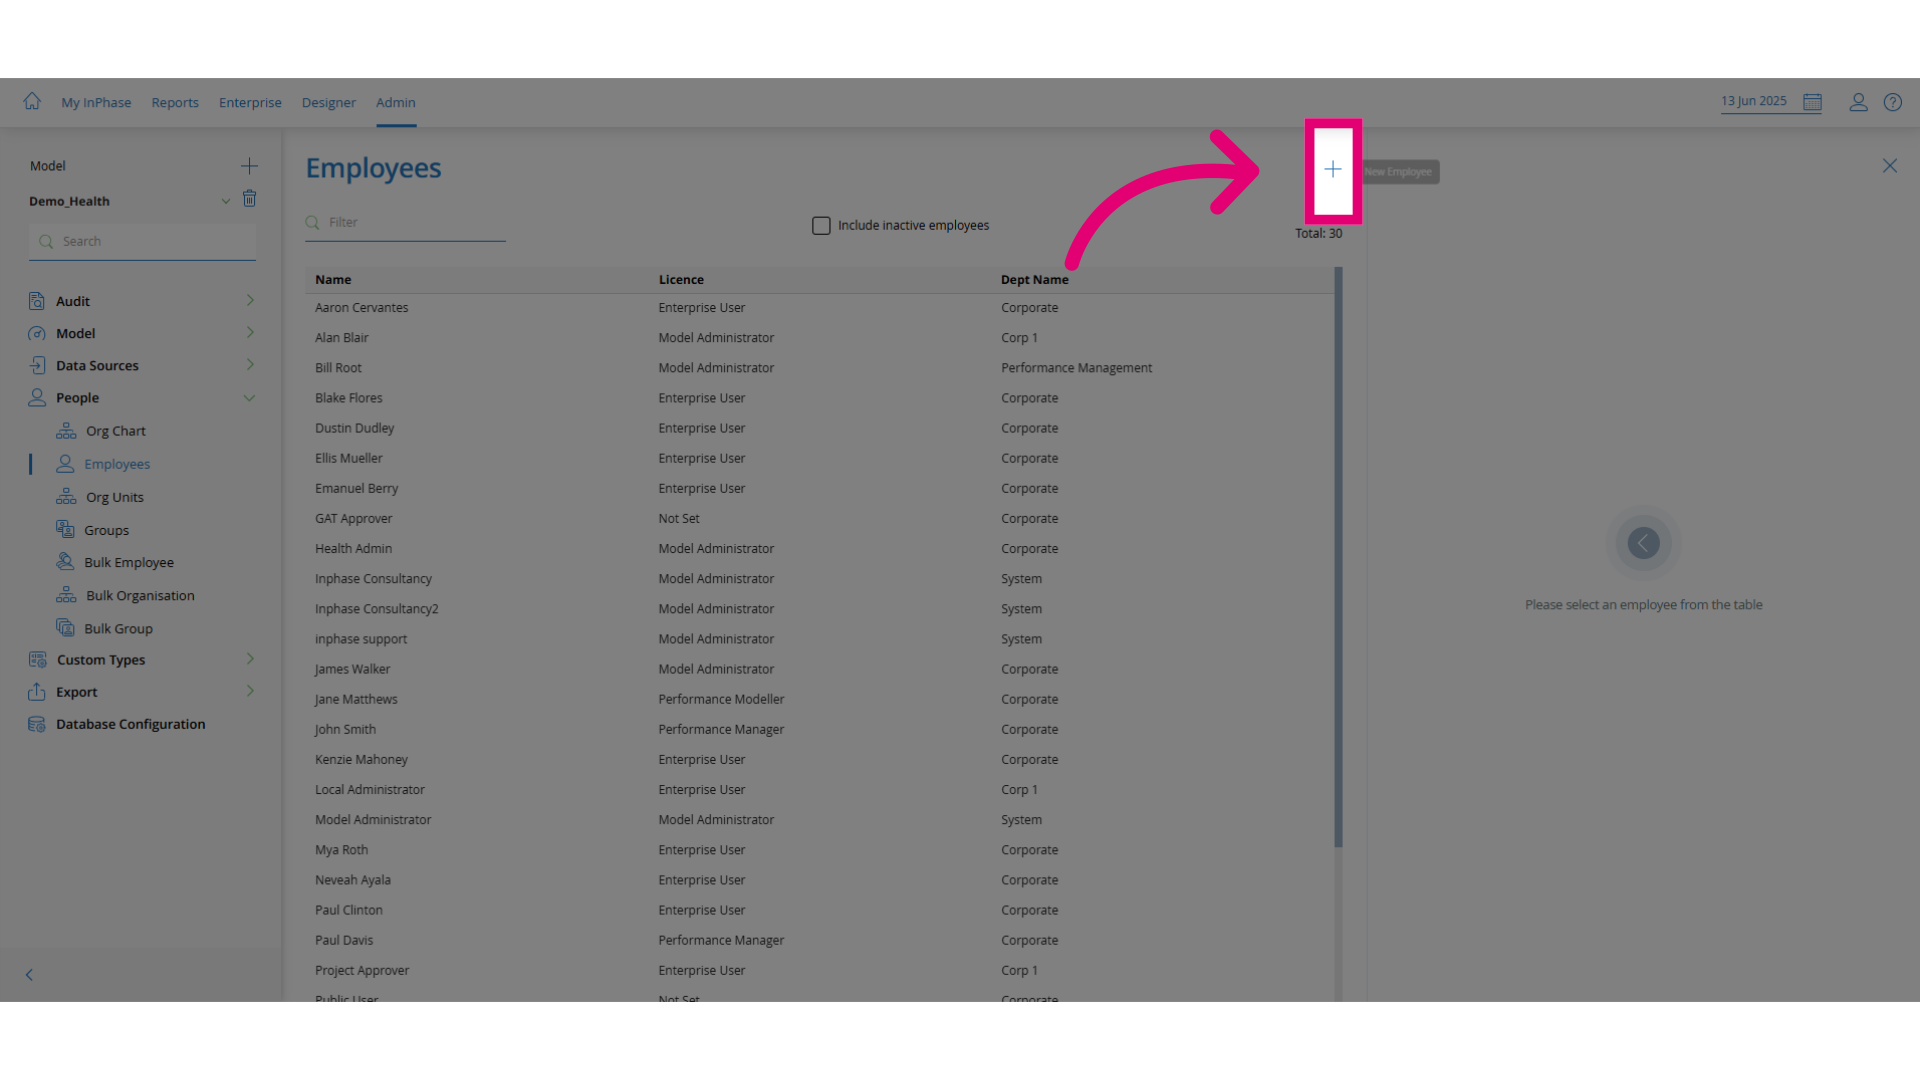
- Click Add New Employee. Click the add button to add a new employee.
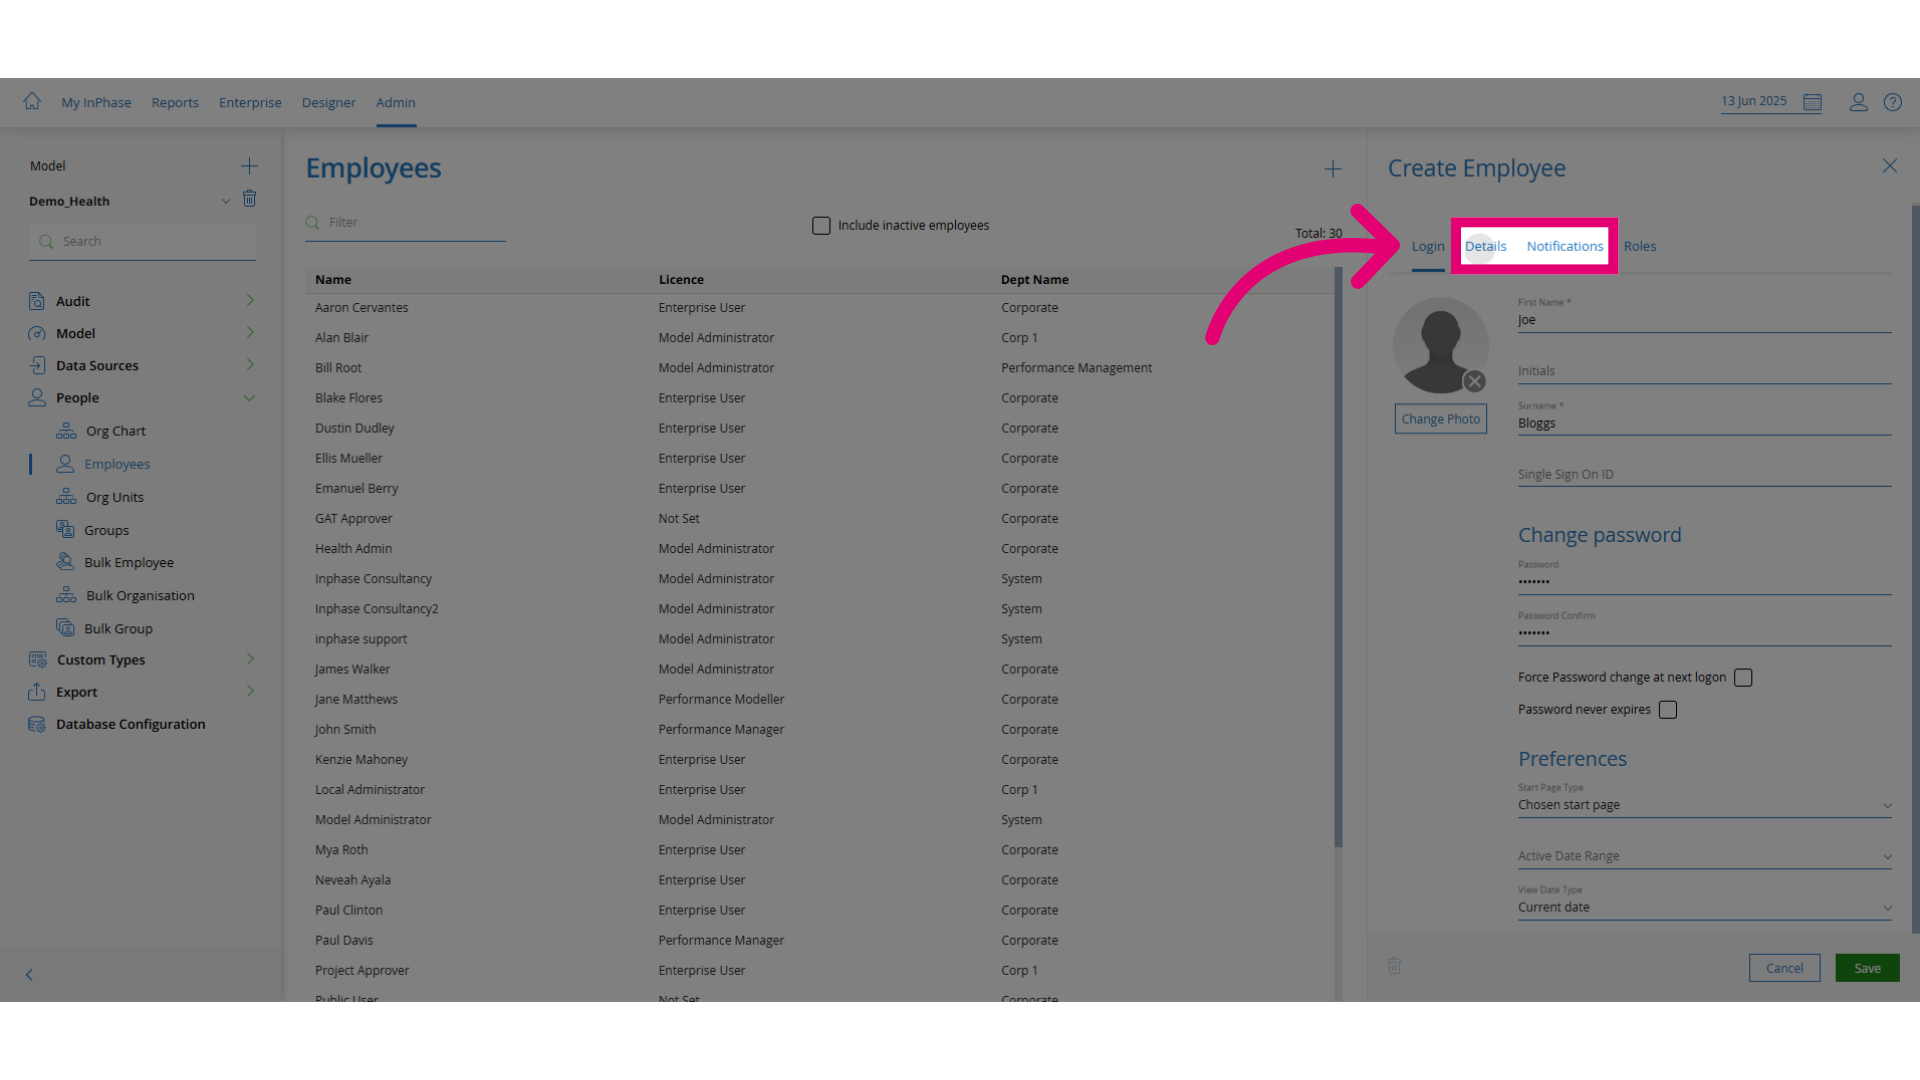
- Enter the required information to create an account.
Customers using Single Sign On (SSO):
- First Name
- Surname
- Single Sign on ID (must match their Azure AD network login id)
- Email (on the Details tab)
- Department (on the Details tab - same as Org Unit)
- Manager (on the Details tab)
- Licence Type (on the Roles tab - Enterprise for End Users)
Customers NOT using Single Sign On (SSO):
- First Name
- Surname
- Single Sign on ID (must match their Azure AD network login id)
- Password
- Password confirm - tick Force Password Change ... if you want the user to set their own password
- Email (on the Details tab)
- Department (on the Details tab - same as Org Unit)
- Manager (on the Details tab)
- Licence Type (on the Roles tab - Enterprise for End Users)

- Add details in the additional tabs, such as nicknames, job titles, and notifications.
The shortname field holds a unique identifier for the user. This must be unique across the system and 7 characters or less.
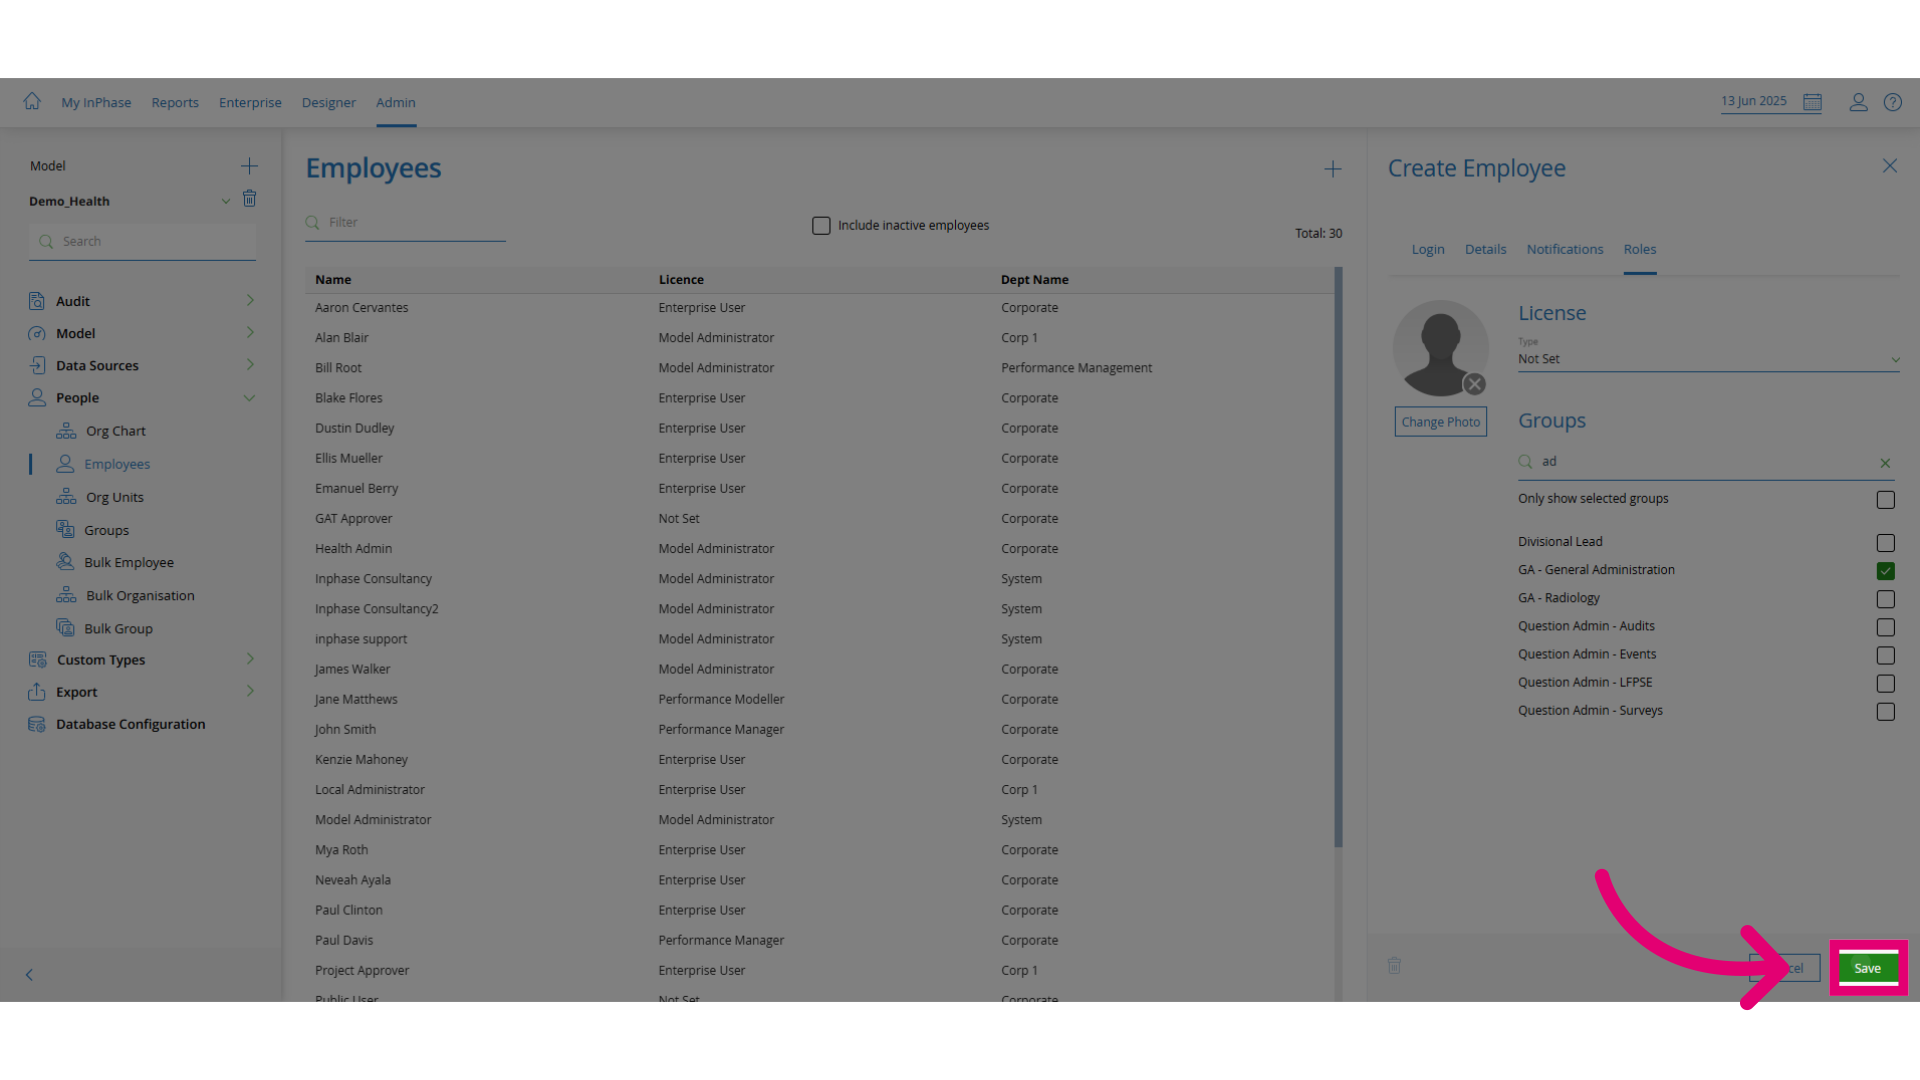
- Open the Roles tab and assign the relevant security role to the user.
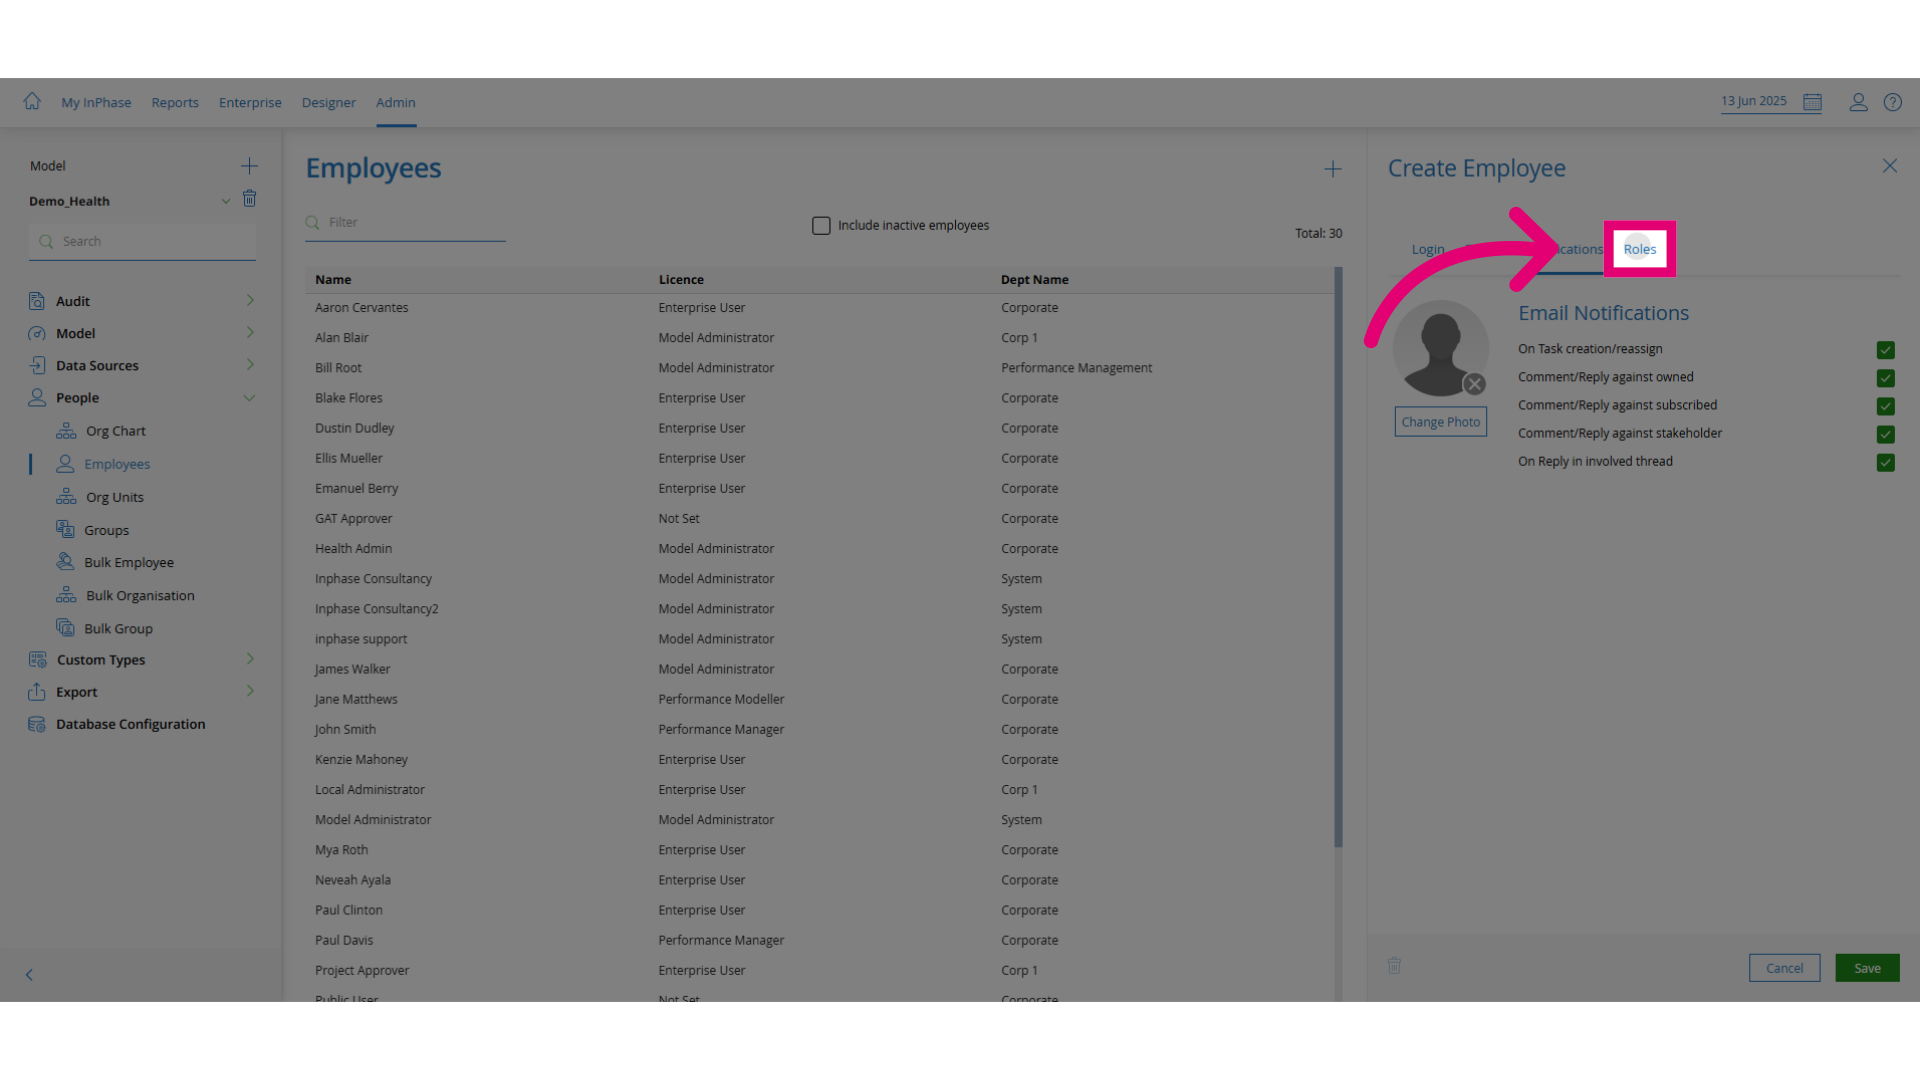
- Select the appropriate roles. For example, General Admin grants full access, while Question Admin for Audits limits access to that area.
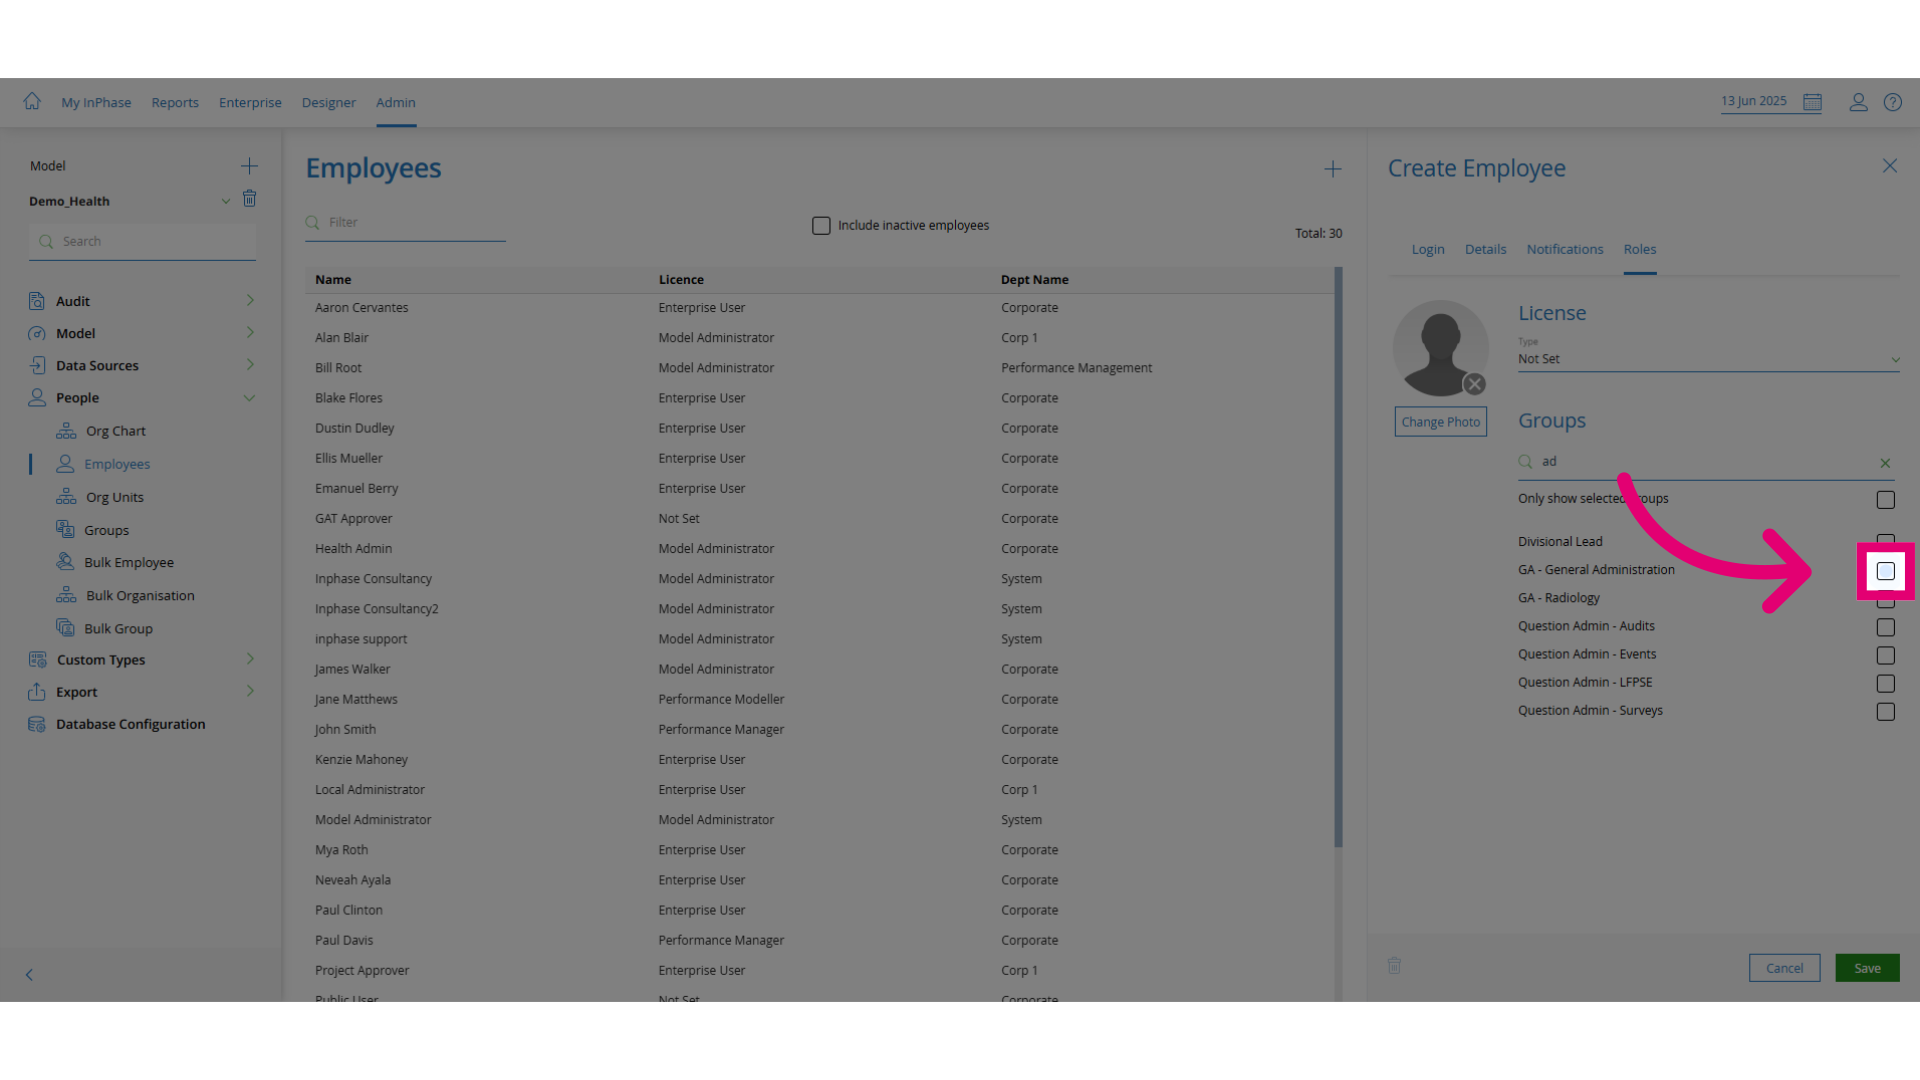
- Click Save to apply the changes.